14 Days of Love- Felt Flower Tutorial

Supplies:
*Felt
*Pencil or marking pen
*Scissors
*Glue
*Various round objects for tracing circles
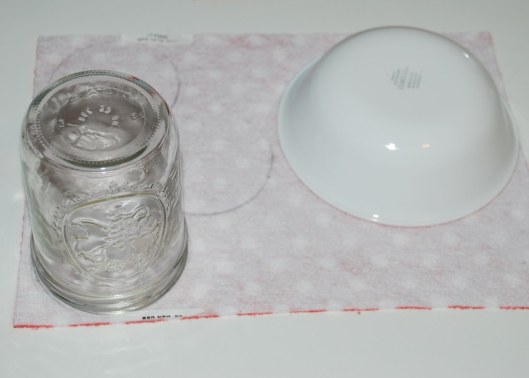
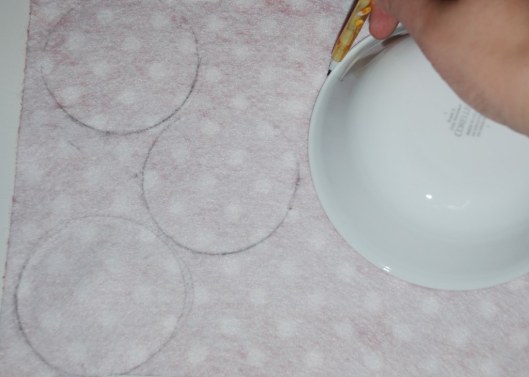
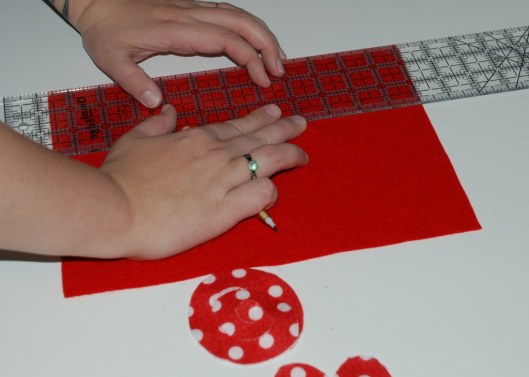
Step 1: Take your round objects and trace onto felt. I like the size flowers that a mason jar and a cereal bowl make
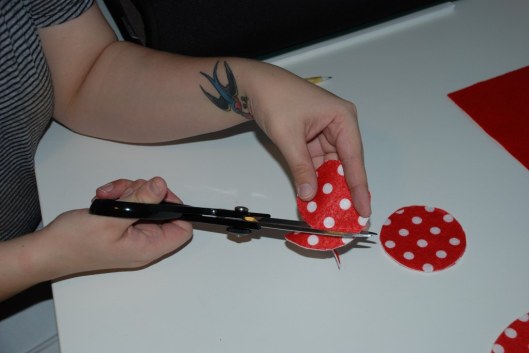
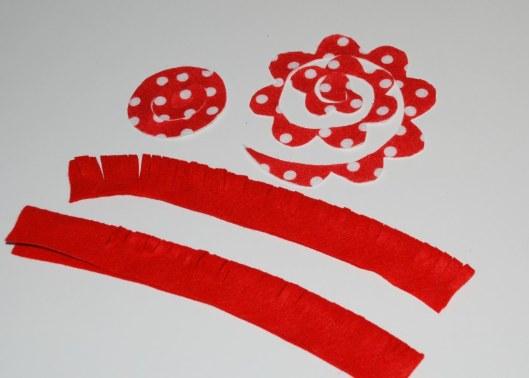
Step 2: Cut out circles and cut strips for loopy flower( a 3″ strip makes a large loopy or spikey flower)
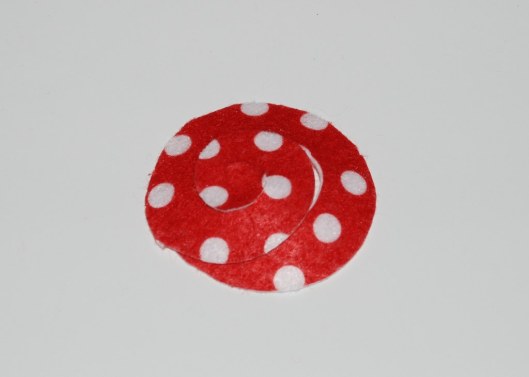
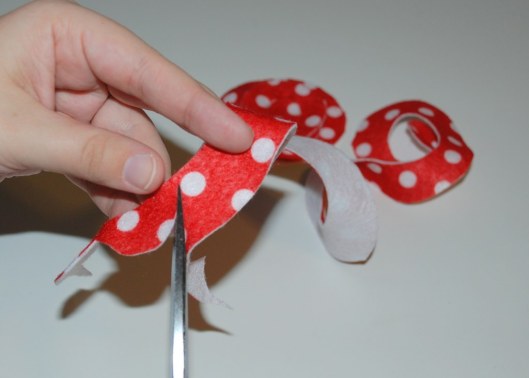
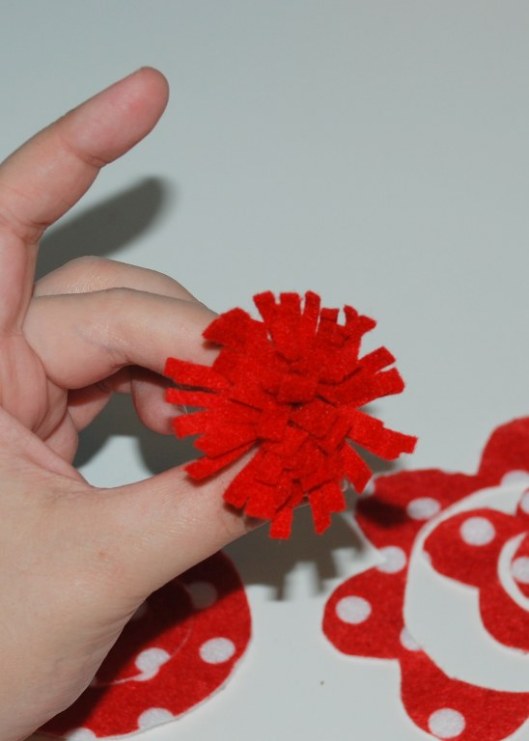
Step 3: Cut the circles into spirals for rolled roses. Cut circles into spirals and then scallop cut the edges for more of a pretty petal rose. For Loopy flowers fold strip in half lengthwise and then cut small slits on folded edge. For a spikey flower, do the same as you would for a loopy flower but cut the loops in half at the top so you have two strips.
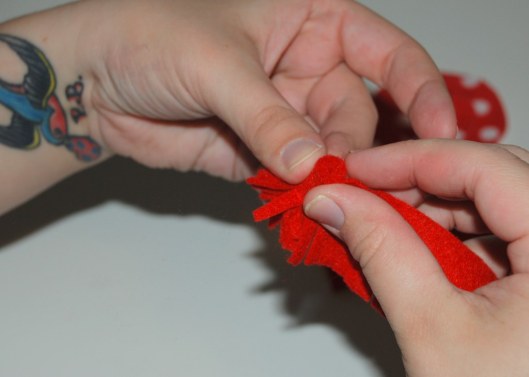
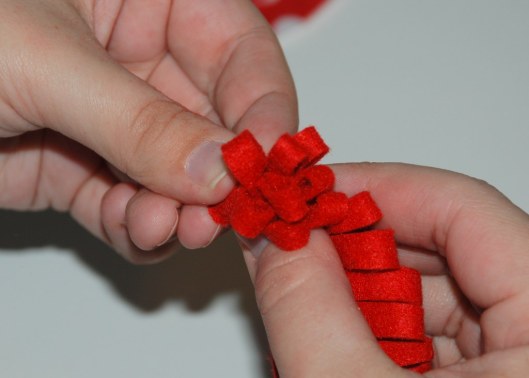
Step 4a: For loopy and spikey flowers start at one end and start rolling up tightly, continue rolling until you get to the end and you have it tightly wound on the bottom and a big pouf of loops or strips on the top. Secure with choice of glue.
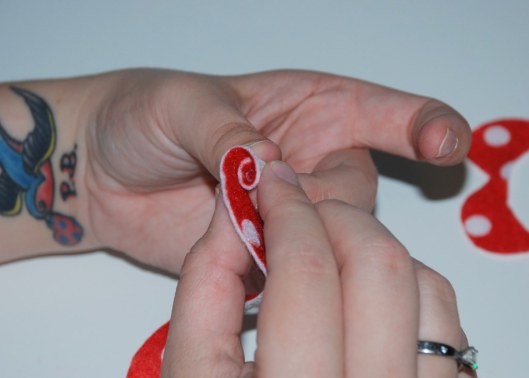
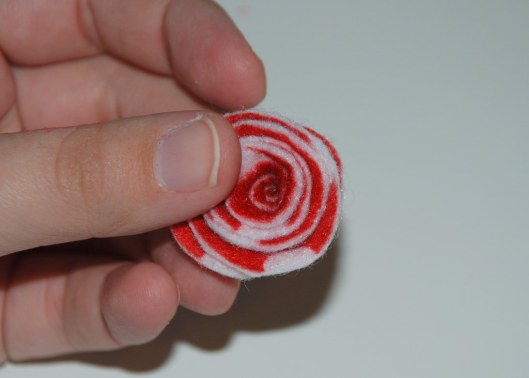
Step 4b: For spiral and scalloped spiral start rolling up roses starting at the skinny point of the spiral where it starts. Roll tightly all the way keeping the bottom of the rose flat. Secure with your choice of glue.
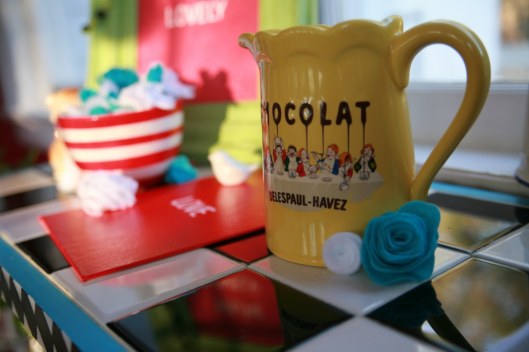
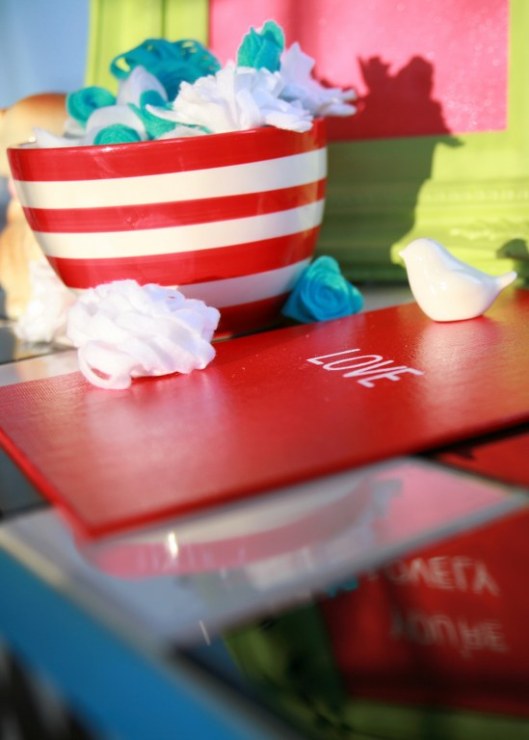
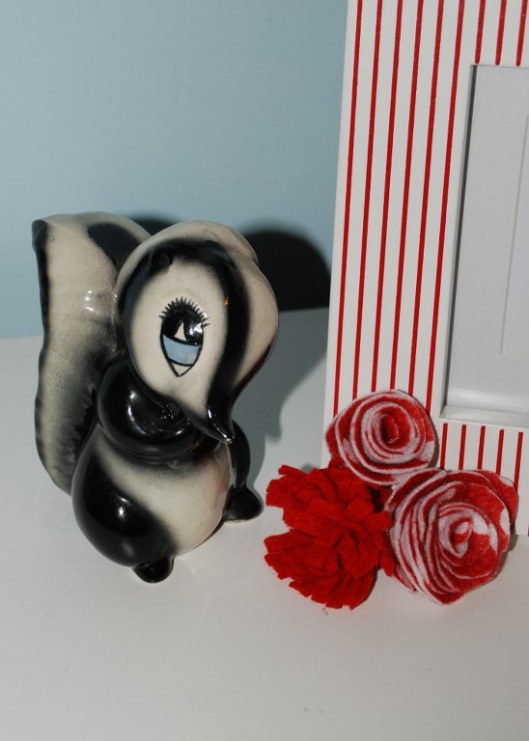
And there you have it. These are really so easy and quick to make. You can do all kinds of things with them. Use them as decoration, put them on a wreath, attach to wire to make a fake bouquet, pin them on tees, put them on hair accessories, the possibilities are endless. These are just a few i’ve learned to make. You can find all kinds of felt flower ideas and tutorials on pinterest. These particular flowers are going to be used in another valentine’s treat for you, so be sure to stay tuned.








0 Comments on “14 Days of Love- Felt Flower Tutorial”