14 Days of Love- “Bubble” Bracelet Tutorial

Supplies:
*Fabric 1/8th of a yard would be fine
*Sewing machine
*Wooden beads
*Jewlery End Caps (I got mine here: http://www.etsy.com/listing/71683704/silver-finish-8mm-end-caps-6-pcs)
*Ribbon
*Safety pin or turning tool
*Scissors or rotary cutter
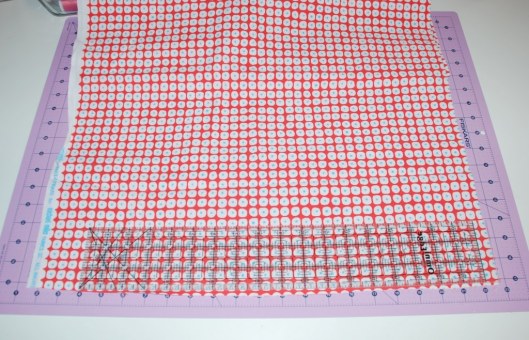
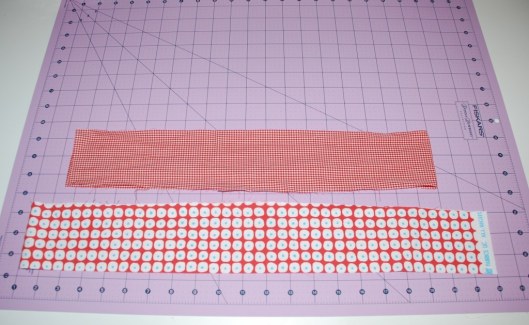
Step 1: Cut the fabric. My beads were around an inch, so I made my strips 3 inches for ease and seam allowance. Cut the strips perpendicular to the selvedge.
Step 2: Sew. Fold strip in half lengthwise with right sides together and sew with a 1/4″ seam allowance
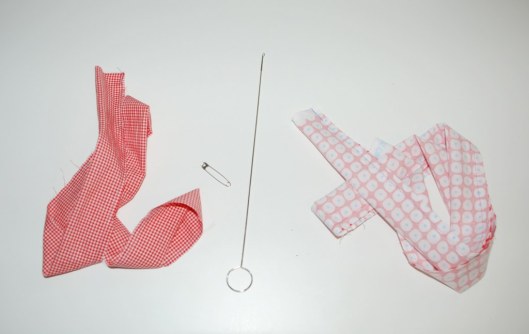
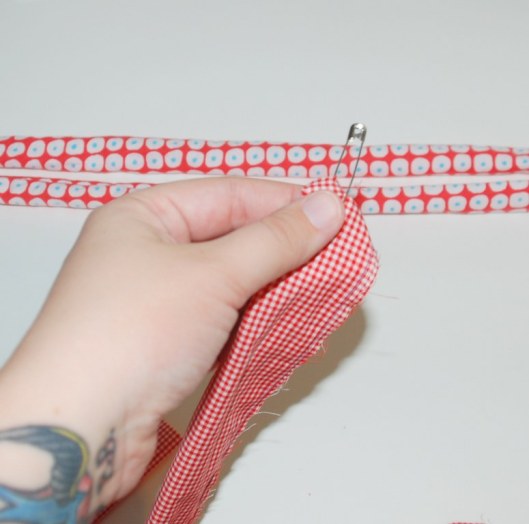
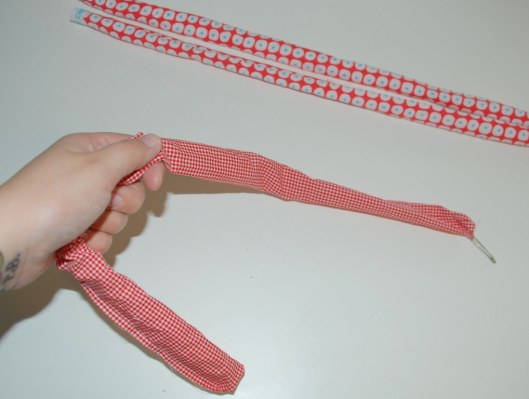
Step 3: Turn rightside out using a turning tool if you have one, or you can use a safety pin. You can attach the pin to the end of the fabric and scooch it down through to the other end pulling the fabric through as you go to get it right side out.
Step 4: Tie a knot at the end of your sewn strip. You can leave a long tail if you wish to have self ties for fastening, or knot at the end if you are going to add and endcap and ribbon.
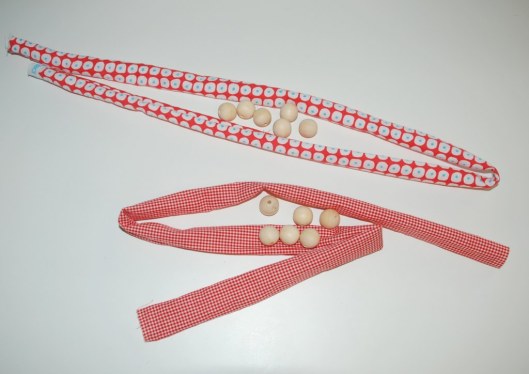
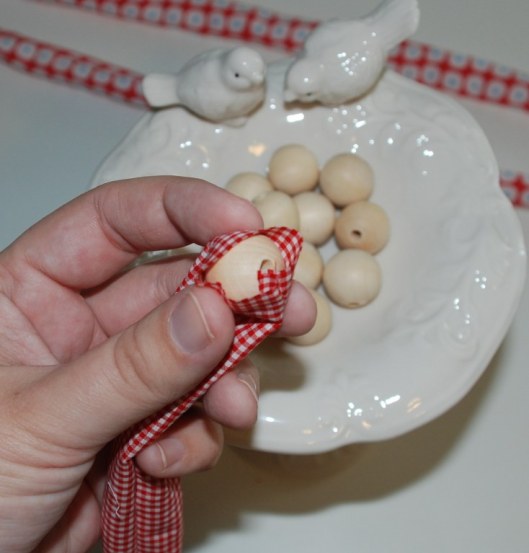
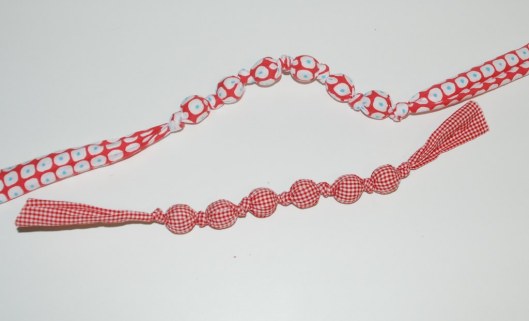
Step 5: assemble bracelet. Slide a bead into the tube of fabric until it reaches the knot. Twist the fabric to make it tought around the bead and then tie another secure knot. Continue loading and knotting between beads until you have the length you want and make sure to knot the end when finished. I used six beads per bracelet on mine.
Step 6: Glue end caps. You can use hot glue, but my favorite glue is e-6000, but it takes a while to dry, so it’s up to you what you wish to use. Twist the end fabric very tightly where the last knots are. Snip fabric close, leave about 1/4″ or so after the know, keeping the twisted fabric in between your fingers. Load a bit of glue into the end cap and then twist the cap onto the twisted end of your fabric. Do this for both sides.
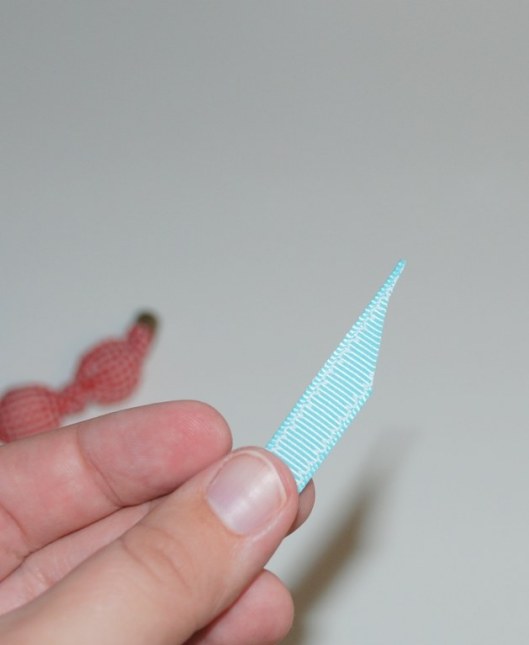
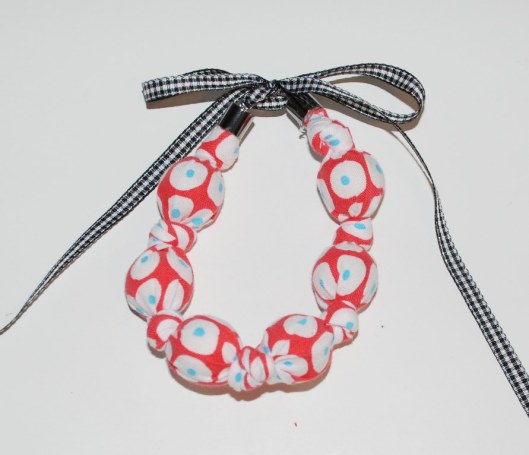
Step 7: Add ribbon. Once your end caps are completely dried, you are ready to add ribbon. I start with a strand of ribbon much larger than I think I need. If you have thicher ribbon, snip the end of the ribbon into a fine point. Thread the ribbon through both eyes of the end caps. Tie a loose bow, and snip off tails where it looks good to you.
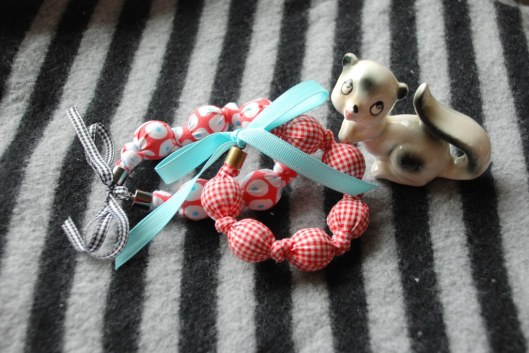
Step 8: Pile them on and enjoy.
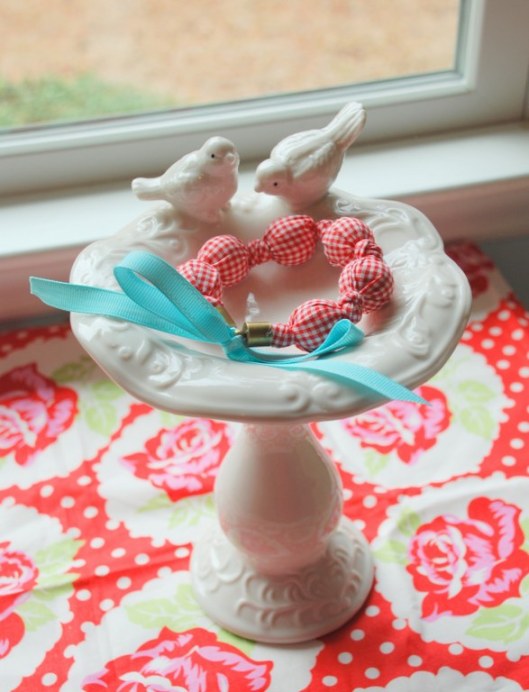
These bracelets are super chunky. I love them because they look like yummy patterned gumballs, and I love bracelets that tie with a ribbon. I hope you enjoy making them as much as I did. Happy crafting!















Lovely! I have lots of fabric and beads to use up so may do this myself 🙂
I love your photography and your tutorials. Have a great day!
Thanks a bunch:), I think you’re blog is sweet too!
this is too cute~~ !! thanks for sharing <3